How to: Image Builder + OSTree + Anaconda
Guest Post by Stef Walter, on June 1, 2020.
In version 15, Image Builder gained support for creating OSTree commits. You can install a Linux system using those OSTree commits by using the Anaconda Installer and its Kickstart functionality. This process is rather involved, with none of the individual parts providing a complete solution yet, so let me walk you through it.
Prerequisites
The naming of Image Builder and its various parts need
some introduction
before they make sense. So I’ll
list the actual package names you need for a complete working Image Builder
setup. We’ll also use podman later on:
$ sudo yum install osbuild osbuild-ostree osbuild-composer composer-cli podman
$ sudo systemctl start osbuild-composer.socket
You will need one of the bootable install ISO images for Fedora or RHEL. I used a Fedora 32 netinst image so get that downloading ahead of time.
Lastly, make note of the IP address of your system that is accessible from other machines. This address will be peppered through various files and commands:
$ nmcli -p device show | grep IP4.ADDRESS
IP4.ADDRESS[1]:                         192.168.11.5/24
...
Create the OSTree in Image Builder GUI
You can create OSTree commits nicely in the Image Builder GUI. If you’d rather do this via the command line, then skip this section.
$ sudo yum install cockpit cockpit-composer
$ sudo systemctl start cockpit
Use a web browser, to connect your machine on port 9090, and log in with your usual Linux user name and password. Make sure your Linux user is an administrative account on the local machine. Then click on Image Builder in the menu:

Click the Create Blueprint button to make a new blueprint and give it
a simple name. In the instructions below we use iot so for simplicity
just stick with that here:
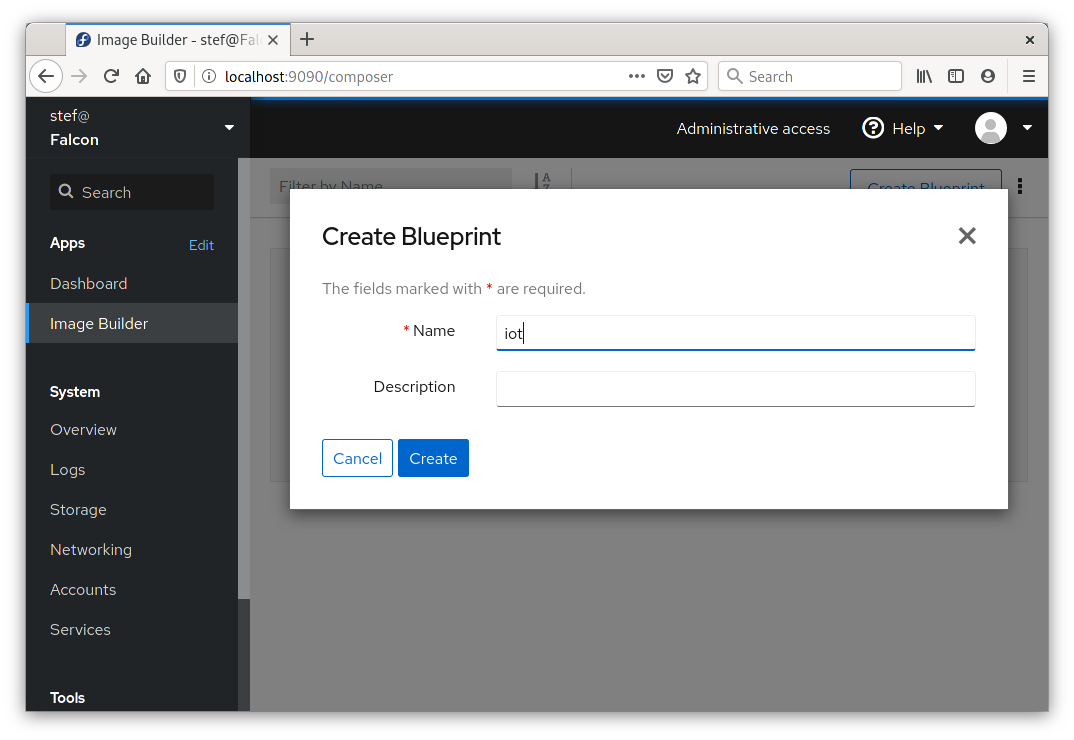
You don’t need to add any additional software to the blueprint to get a bootable system. Click the Create Image button, and choose Fedora IoT Commit as the image Type:
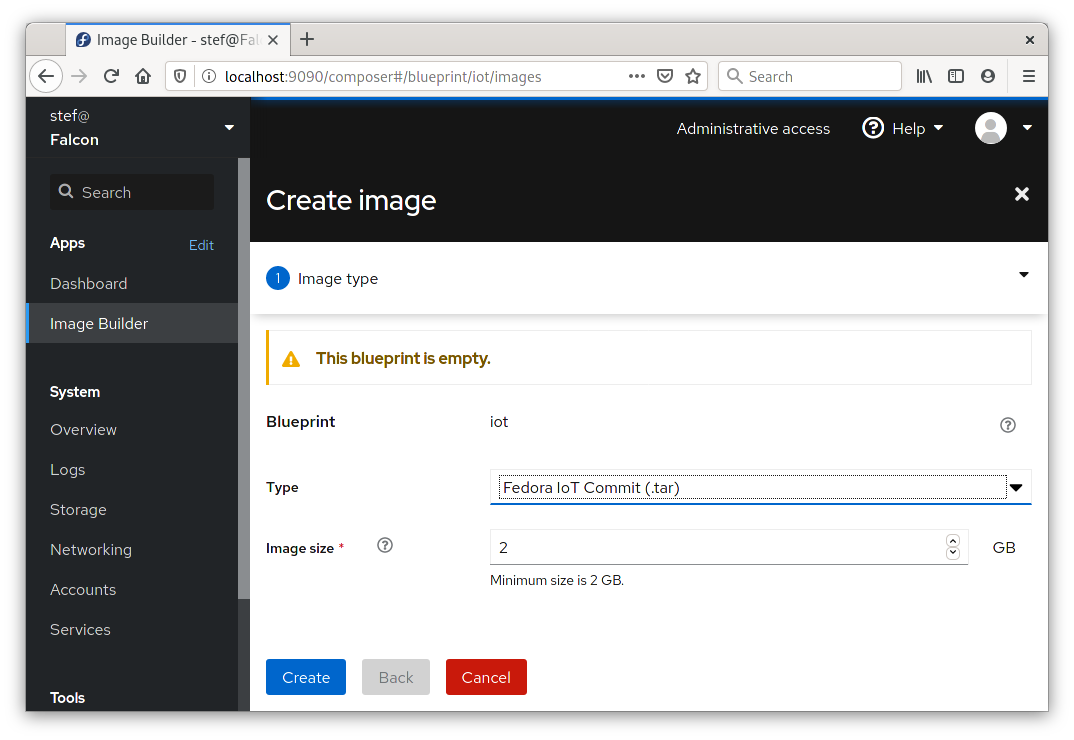
Once you click Create the image build will start, and take several minutes to complete. You won’t see any progress information or logs until its done, so just be patient:
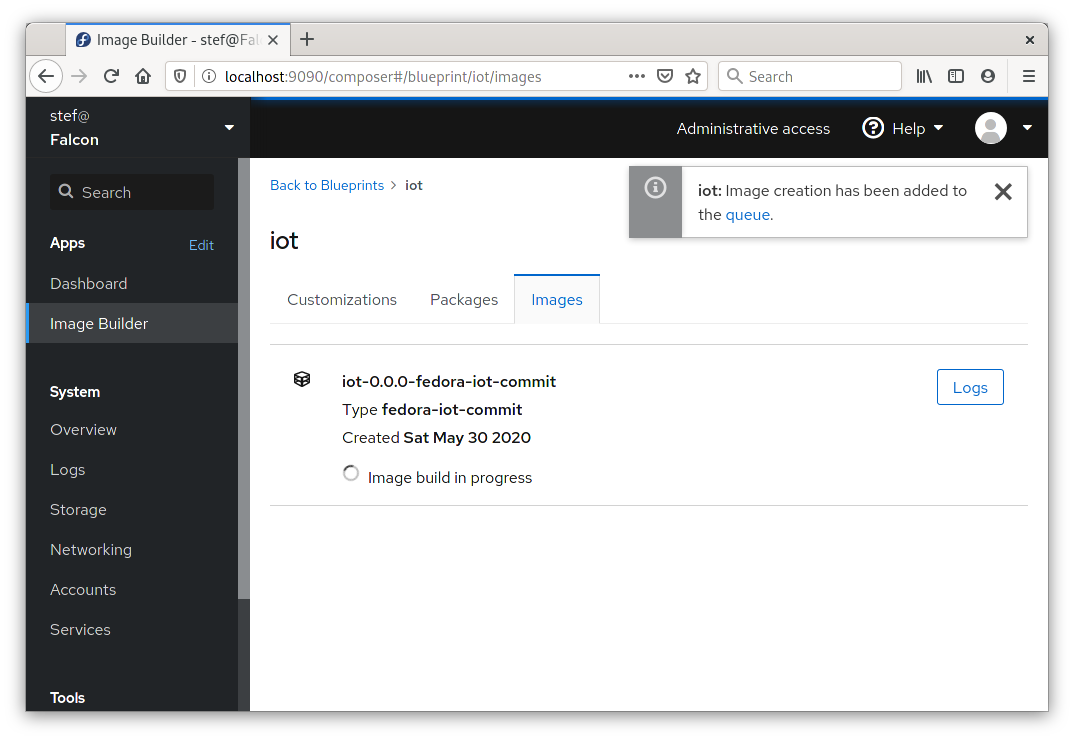
Once the image build is done, choose the option to Download the image which
is hidden in the kebab menu next to the Logs button. You’ll get a tarball
named something like 8e8014f8-4d15-441a-a26d-9ed7fc89e23a-commit.tar
which contains the OSTree commit that was just created. Save that file
to a local directory and we’ll place a few additional files next to it
in later steps.

Create the OSTree in Image Builder command line
If you created an OSTree via the GUI above, you can skip this section.
Here’s how to create an OSTree via Image Builder from the command line.
The Image Builder command line tool is called composer-cli.
We first have to have a blueprint defined. To do this we write
an iot.toml file that defines what the image will contain:
name = "iot"
description = ""
version = "0.0.0"
packages = []
modules = []
groups = []
I’ve chosen the name iot, which is used in the steps below. For your
first go around just keep this simple name so you don’t have to figure out all
the places below to change the name. Even though we haven’t added any specific
packages to this blueprint, all the necessary packages to get a
bootable system will be automatically included.
Import the blueprint iot.toml file into Image Builder like this, and
start an image build for the fedora-iot-commit image type:
$ sudo composer-cli blueprints push iot.toml
$ sudo composer-cli compose start iot fedora-iot-commit
Compose 8e8014f8-4d15-441a-a26d-9ed7fc89e23a added to the queue
You can check on status of the image build like so:
$ sudo composer-cli compose status
8e8014f8-4d15-441a-a26d-9ed7fc89e23a RUNNING  Sat May 30 07:03:54 2020 iot             0.0.0 fedora-iot-commit
Once the image has been created, download it into the current directory using the UUID identifier that was displayed in the output of the previous command. We’ll be creating further files in the same directory below.
$ sudo composer-cli compose image 8e8014f8-4d15-441a-a26d-9ed7fc89e23a
8e8014f8-4d15-441a-a26d-9ed7fc89e23a-commit.tar: 587.60 MB
Setting up the Kickstart
We’ll install the OSTree in the Anaconda Installer using a Kickstart file.
Create a file called ostree.ks containing the following content
in the current directory:
lang en_US.UTF-8
keyboard us
timezone UTC
zerombr
clearpart --all --initlabel
autopart
reboot
user --name=core --groups=wheel --password=foobar
ostreesetup --nogpg --url=http://192.168.11.5:8000/repo/ --osname=iot --remote=iot --ref=fedora/32/x86_64/iot
Replace the IP address in the last line with the address you saw in the first section. This kickstart file must be in the same directory as the OSTree tarball you downloaded from Image Builder above.
Serving the OSTree via HTTP
OSTree doesn’t come with a stock way to push or serve OSTree commits, so we’ll need to build our own mechanism to serve the OSTree content. Lets use Apache httpd in a container. The OSTree client can overwhelm certain HTTP servers with too many connections. Don’t get too fancy or opinionated about using your favorite HTTP server here.
Create a Dockerfile with the following content. This file must be
in the same directory as the tarball and ostree.ks file:
FROM registry.access.redhat.com/ubi8/ubi
RUN yum -y install httpd && yum clean all
ADD *.tar *.ks /var/www/html
EXPOSE 80
CMD ["/usr/sbin/httpd", "-D", "FOREGROUND"]
Now lets build and run the container:
$ ls
8e8014f8-4d15-441a-a26d-9ed7fc89e23a-commit.tar
Dockerfile
iot.toml
ostree.ks
$ podman build -t ostree .
STEP 1: FROM registry.access.redhat.com/ubi8/ubi
STEP 2: RUN yum -y install httpd && yum clean all
...
$ podman run --rm -p 8000:80 ostree
In another terminal, check that you can access the content using the IP address you discovered earlier:
$ curl http://192.168.11.5:8000/ostree.ks
lang en_US.UTF-8
keyboard us
timezone UTC
...
$ curl http://192.168.11.5:8000/repo/config
[core]
repo_version=1
mode=archive-z2
And we’re ready to rock and roll!
Installing from an OSTree
Boot a system using the ISO image you downloaded earlier. If you’re using a virtual machine or hardware you can do this in different ways that I won’t cover here.
At the initial screen that the Installer ISO displays, you’ll see a line something like Install Fedora 32:
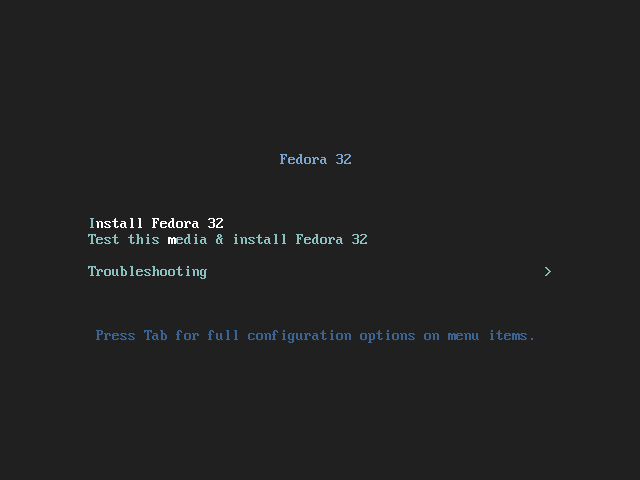
Before the time out, use the arrow keys to select that line, and press the TAB key. You’ll see a line of kernel command line options appear below. Something like:
> vmlinuz initrd=initrd.img inst.stage2=hd:LABEL=Fedora quiet
Add the following to that line. Make sure to leave a space before it, and again use the IP address you discovered earlier:
inst.ks=http://192.168.11.5:8000/ostree.ks
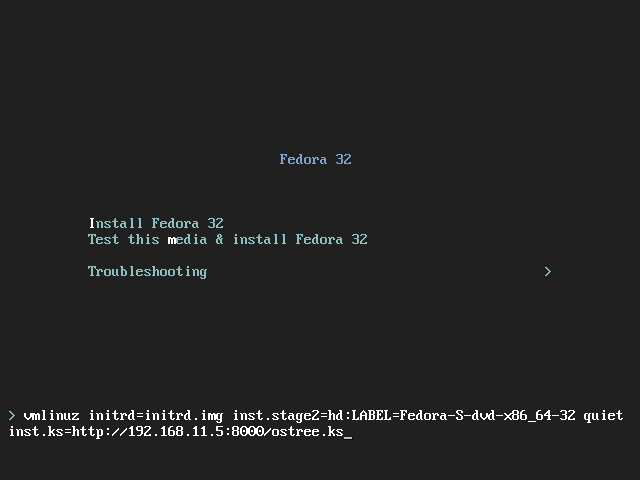
After you press ENTER, the installer should start. If things are working the GUI should display but proceed automatically to the installation stage. You’ll see text about the system being installed from the OSTree repo, and how it’s pulling various objects.

Once the system is installed, it’ll reboot automatically. To log into your
newly minted system use the login core and the password foobar
that you saw in the ostree.ks file.
